使用Angular构建用户管理应用
本教程展示如何构建一个基本的用户管理应用程序。该应用程序对用户进行身份验证和识别,将其个人资料信息存储在数据库中,并允许用户登录、更新个人资料详细信息以及上传个人资料照片。该应用程序使用:
- Supabase数据库 - 一个Postgres数据库,用于存储用户数据,并通过行级安全性来保护数据,确保用户只能访问自己的信息。
- Supabase身份验证 - 允许用户注册和登录。
- Supabase存储 - 用户可以上传个人资料照片。
如果在学习本指南时遇到问题,请参考 GitHub上的完整示例。
项目设置
在开始构建之前,我们需要设置数据库和 API。这就像在 Supabase 中创建一个新项目,然后在数据库中创建一个 “模式” 一样简单。
创建项目
- 在 Supabase 仪表板中创建一个新项目。
- 输入项目详细信息。
- 等待新数据库启动。
设置数据库模式
现在我们要设置数据库模式。我们可以在 SQL 编辑器中使用 “用户管理入门” 快速启动模板,或者您也可以直接复制/粘贴下面的 SQL 并自行运行。
获取 API 密钥
既然您已经创建了一些数据库表,就可以使用自动生成的 API 插入数据了。
我们只需要从 API 设置中获取项目 URL 和 anon 密钥。
- 前往仪表板中的 API 设置 页面。
- 在该页面找到您的项目
URL、anon和service_role密钥。
构建应用
让我们从零开始构建这个 Angular 应用。
初始化 Angular 应用
我们可以使用 Angular CLI 来初始化一个名为 supabase-angular 的应用:
12npx ng new supabase-angular --routing false --style css --standalone falsecd supabase-angular然后安装唯一的额外依赖:supabase-js
1npm install @supabase/supabase-js最后我们需要将环境变量保存在 src/environments/environment.ts 文件中。只需要之前获取的 API URL 和 anon 密钥即可。这些变量会暴露在浏览器中,这完全没问题,因为我们的数据库已启用行级安全。
12345export const = { : false, : 'YOUR_SUPABASE_URL', : 'YOUR_SUPABASE_KEY',}现在我们已经配置好 API 凭证,让我们通过 ng g s supabase 创建一个 SupabaseService 来初始化 Supabase 客户端,并实现与 Supabase API 通信的函数。
12345678910111213141516171819202122232425262728293031323334353637383940414243444546474849505152535455565758596061626364656667686970717273import { Injectable } from '@angular/core'import { AuthChangeEvent, AuthSession, createClient, Session, SupabaseClient, User,} from '@supabase/supabase-js'import { environment } from '../environments/environment'export interface Profile { id?: string username: string website: string avatar_url: string}@Injectable({ providedIn: 'root',})export class SupabaseService { private supabase: SupabaseClient _session: AuthSession | null = null constructor() { this.supabase = createClient(environment.supabaseUrl, environment.supabaseKey) } get session() { this.supabase.auth.getSession().then(({ data }) => { this._session = data.session }) return this._session } profile(user: User) { return this.supabase .from('profiles') .select(`username, website, avatar_url`) .eq('id', user.id) .single() } authChanges(callback: (event: AuthChangeEvent, session: Session | null) => void) { return this.supabase.auth.onAuthStateChange(callback) } signIn(email: string) { return this.supabase.auth.signInWithOtp({ email }) } signOut() { return this.supabase.auth.signOut() } updateProfile(profile: Profile) { const update = { ...profile, updated_at: new Date(), } return this.supabase.from('profiles').upsert(update) } downLoadImage(path: string) { return this.supabase.storage.from('avatars').download(path) } uploadAvatar(filePath: string, file: File) { return this.supabase.storage.from('avatars').upload(filePath, file) }}可选地,更新 src/styles.css 来为应用添加样式。
设置登录组件
让我们设置一个Angular组件来管理登录和注册。我们将使用Magic Links(魔法链接),这样用户无需使用密码即可通过电子邮件登录。
使用Angular CLI命令ng g c auth创建一个AuthComponent。
1234567891011121314151617181920212223242526272829303132333435363738import { Component } from '@angular/core'import { FormBuilder } from '@angular/forms'import { SupabaseService } from '../supabase.service'@Component({ selector: 'app-auth', templateUrl: './auth.component.html', styleUrls: ['./auth.component.css'],})export class AuthComponent { loading = false signInForm = this.formBuilder.group({ email: '', }) constructor( private readonly supabase: SupabaseService, private readonly formBuilder: FormBuilder ) {} async onSubmit(): Promise<void> { try { this.loading = true const email = this.signInForm.value.email as string const { error } = await this.supabase.signIn(email) if (error) throw error alert('请检查您的邮箱获取登录链接!') } catch (error) { if (error instanceof Error) { alert(error.message) } } finally { this.signInForm.reset() this.loading = false } }}账户页面
用户登录后还需要能够编辑个人资料信息和管理账户。使用 Angular CLI 命令 ng g c account 创建一个 AccountComponent。
123456789101112131415161718192021222324252627282930313233343536373839404142434445464748495051525354555657585960616263646566676869707172737475767778798081828384858687888990import { Component, Input, OnInit } from '@angular/core'import { FormBuilder } from '@angular/forms'import { AuthSession } from '@supabase/supabase-js'import { Profile, SupabaseService } from '../supabase.service'@Component({ selector: 'app-account', templateUrl: './account.component.html', styleUrls: ['./account.component.css'],})export class AccountComponent implements OnInit { loading = false profile!: Profile @Input() session!: AuthSession updateProfileForm = this.formBuilder.group({ username: '', website: '', avatar_url: '', }) constructor( private readonly supabase: SupabaseService, private formBuilder: FormBuilder ) {} async ngOnInit(): Promise<void> { await this.getProfile() const { username, website, avatar_url } = this.profile this.updateProfileForm.patchValue({ username, website, avatar_url, }) } async getProfile() { try { this.loading = true const { user } = this.session const { data: profile, error, status } = await this.supabase.profile(user) if (error && status !== 406) { throw error } if (profile) { this.profile = profile } } catch (error) { if (error instanceof Error) { alert(error.message) } } finally { this.loading = false } } async updateProfile(): Promise<void> { try { this.loading = true const { user } = this.session const username = this.updateProfileForm.value.username as string const website = this.updateProfileForm.value.website as string const avatar_url = this.updateProfileForm.value.avatar_url as string const { error } = await this.supabase.updateProfile({ id: user.id, username, website, avatar_url, }) if (error) throw error } catch (error) { if (error instanceof Error) { alert(error.message) } } finally { this.loading = false } } async signOut() { await this.supabase.signOut() }}启动应用!
现在我们已经准备好了所有组件,让我们更新 AppComponent:
12345678910111213141516171819import { Component, OnInit } from '@angular/core'import { SupabaseService } from './supabase.service'@Component({ selector: 'app-root', templateUrl: './app.component.html', styleUrls: ['./app.component.css'],})export class AppComponent implements OnInit { title = 'angular-user-management' session = this.supabase.session constructor(private readonly supabase: SupabaseService) {} ngOnInit() { this.supabase.authChanges((_, session) => (this.session = session)) }}还需要修改 app.module.ts 来引入 @angular/forms 包中的 ReactiveFormsModule。
12345678910111213141516import { NgModule } from '@angular/core'import { BrowserModule } from '@angular/platform-browser'import { AppComponent } from './app.component'import { AuthComponent } from './auth/auth.component'import { AccountComponent } from './account/account.component'import { ReactiveFormsModule } from '@angular/forms'import { AvatarComponent } from './avatar/avatar.component'@NgModule({ declarations: [AppComponent, AuthComponent, AccountComponent, AvatarComponent], imports: [BrowserModule, ReactiveFormsModule], providers: [], bootstrap: [AppComponent],})export class AppModule {}完成后,在终端窗口运行以下命令:
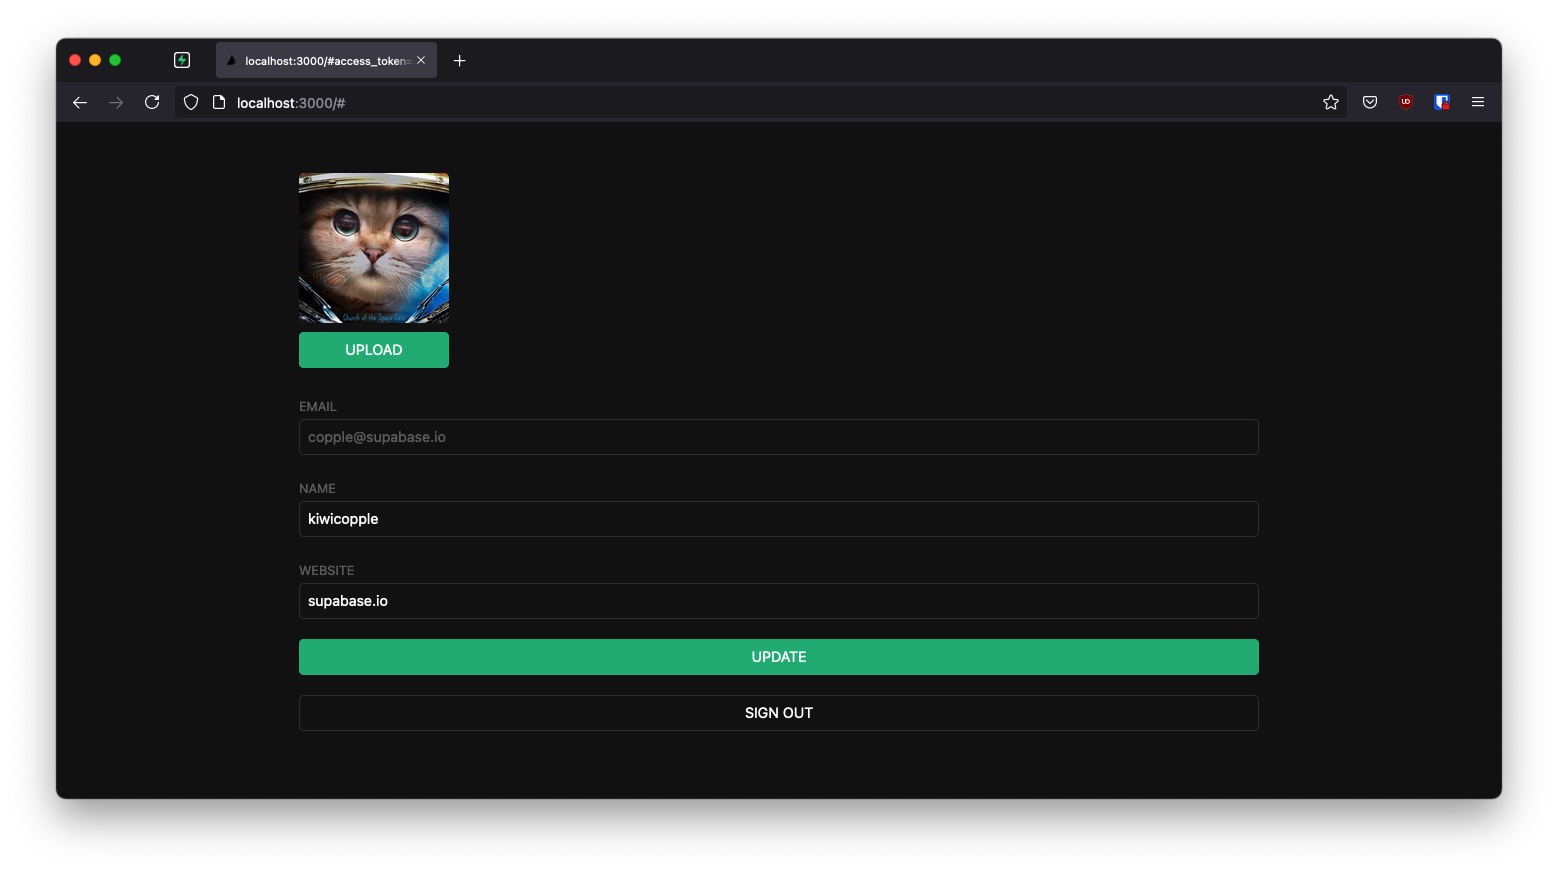
1npm run start然后在浏览器中打开 localhost:4200,您应该能看到完整的应用。

额外功能:个人资料照片
每个 Supabase 项目都预配置了存储功能,用于管理照片和视频等大型文件。
创建上传组件
让我们为用户创建一个头像组件,使他们能够上传个人资料照片。使用 Angular CLI 命令 ng g c avatar 创建一个 AvatarComponent。
1234567891011121314151617181920212223242526272829303132333435363738394041424344454647484950515253545556575859606162import { Component, EventEmitter, Input, Output } from '@angular/core'import { SafeResourceUrl, DomSanitizer } from '@angular/platform-browser'import { SupabaseService } from '../supabase.service'@Component({ selector: 'app-avatar', templateUrl: './avatar.component.html', styleUrls: ['./avatar.component.css'],})export class AvatarComponent { _avatarUrl: SafeResourceUrl | undefined uploading = false @Input() set avatarUrl(url: string | null) { if (url) { this.downloadImage(url) } } @Output() upload = new EventEmitter<string>() constructor( private readonly supabase: SupabaseService, private readonly dom: DomSanitizer ) {} async downloadImage(path: string) { try { const { data } = await this.supabase.downLoadImage(path) if (data instanceof Blob) { this._avatarUrl = this.dom.bypassSecurityTrustResourceUrl(URL.createObjectURL(data)) } } catch (error) { if (error instanceof Error) { console.error('下载图片错误: ', error.message) } } } async uploadAvatar(event: any) { try { this.uploading = true if (!event.target.files || event.target.files.length === 0) { throw new Error('必须选择要上传的图片') } const file = event.target.files[0] const fileExt = file.name.split('.').pop() const filePath = `${Math.random()}.${fileExt}` await this.supabase.uploadAvatar(filePath, file) this.upload.emit(filePath) } catch (error) { if (error instanceof Error) { alert(error.message) } } finally { this.uploading = false } }}添加新组件
然后我们可以在 AccountComponent HTML 模板顶部添加这个组件:
1234<form [formGroup]="updateProfileForm" (ngSubmit)="updateProfile()" class="form-widget"> <app-avatar [avatarUrl]="this.avatarUrl" (upload)="updateAvatar($event)"> </app-avatar> <!-- 输入字段 --></form>同时向 AccountComponent 的 TypeScript 文件添加 updateAvatar 函数和 avatarUrl 获取器:
12345678910111213141516171819@Component({ selector: 'app-account', templateUrl: './account.component.html', styleUrls: ['./account.component.css'],})export class AccountComponent implements OnInit { // ... get avatarUrl() { return this.updateProfileForm.value.avatar_url as string } async updateAvatar(event: string): Promise<void> { this.updateProfileForm.patchValue({ avatar_url: event, }) await this.updateProfile() } // ...}至此,您已经拥有了一个功能完整的应用程序!